In this article, we’ll show you the basic screen-of-green (SCROG) process in 5 simple steps and then follow that up with examples from a full-sized tent and one from a cabinet SCROG.
Why Screen of Green?
If left to grow naturally, cannabis will grow with the shape of a traditional Christmas tree. This structure is very efficient for capturing sunlight, where the light is large and far away. In a grow tent though, we use much smaller lights that are much closer, so the cannabis plants natural structure doesn’t work as well.
The image below illustrates the effect: the plant’s cola is bathed in light, but the bottom branches remain in shadow.


The purpose of a SCROG setup is to provide your plant with a horizontal lattice ( the screen) to grow against so that the plant does not take its natural Christmas tree form, but is manipulated into a flat canopy that receives even lighting in your tent.
Step 1: Ready the Plant(s)
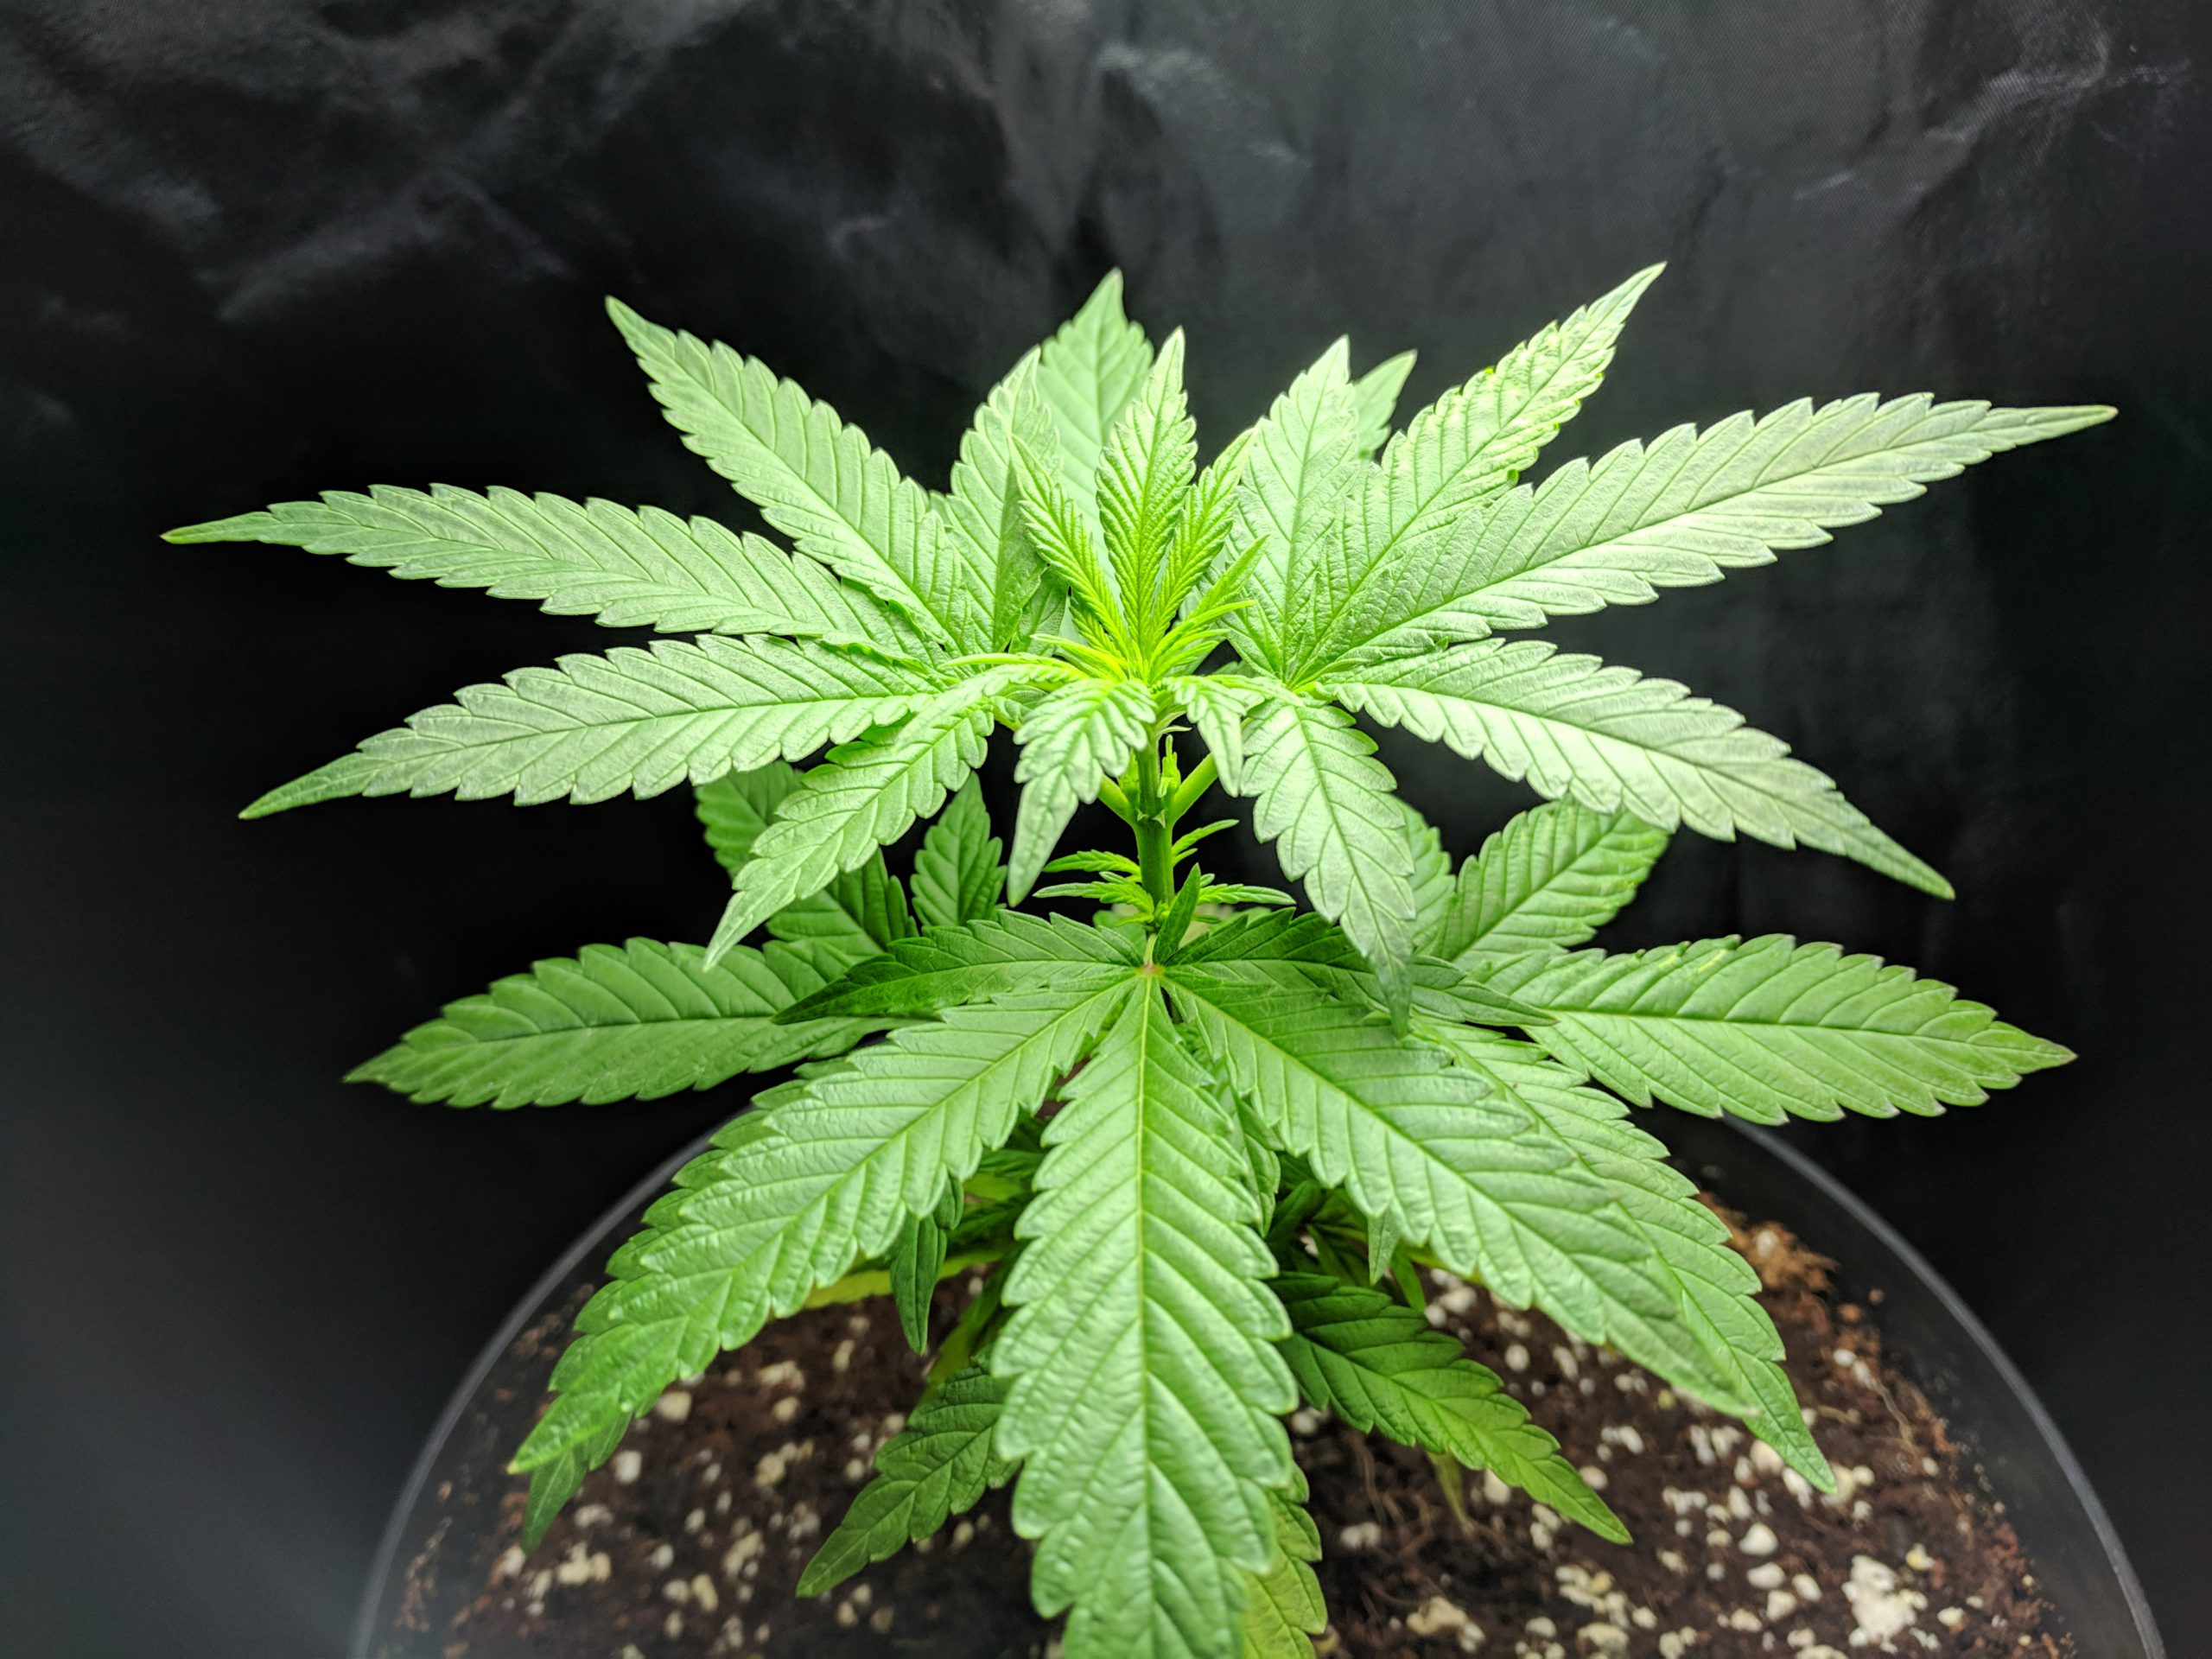
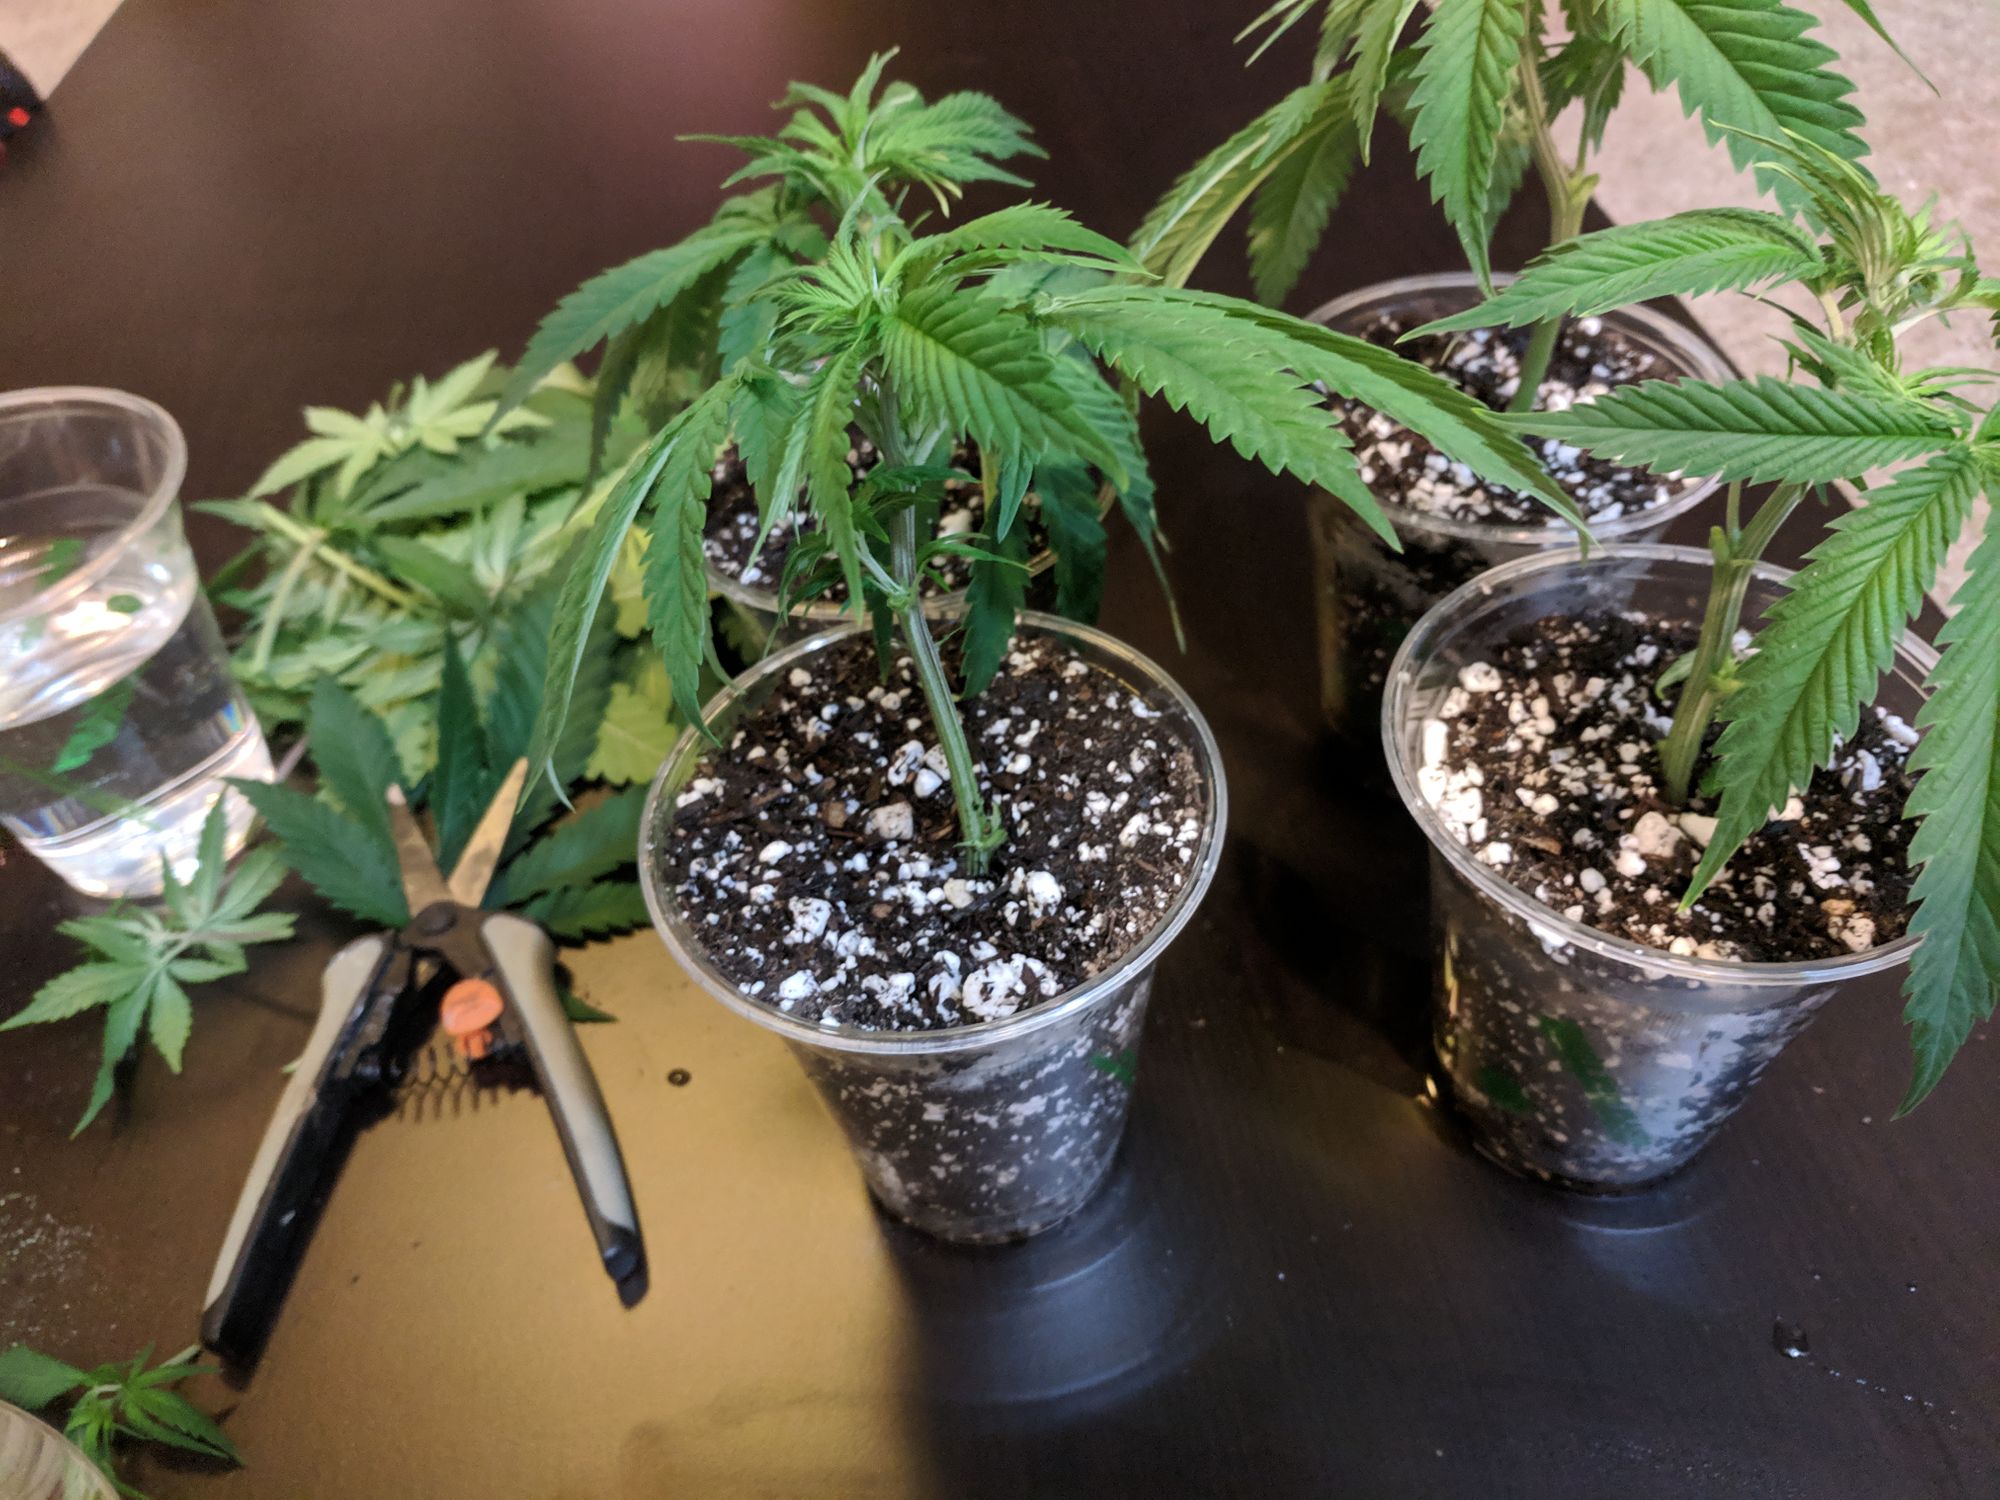
You’ll want to begin you SCROG with one or more adult plants that have been topped at least once and are still in the vegetative state.
Depending on the size and shape of your grow-space and how long you vegetate, you can grow a single plant or multiple plants in each screen. One of the advantages of SCROG technique is that a single plant can stretch out to optimally use a very large space over time.
During the vegetative state, plants can be manipulated more easily and easily recover from injuries. Plants that are in flower become more woody and difficult to train and there is no time to recover from any injuries.
To allow your plant to cover the most surface area, it will be best if your plant has been topped multiple times. Topping the plant breaks apical dominance by removing the top growth tip, causing the plant to divert all of that energy into side branching. Effectively, topping results in forking the plant’s main growth stem into two, which will allow the plant to get better horizontal coverage after you put it under the screen.


Step 2: Build screen structure
The goal when building a screen is to provide a flat latticed structure that will even out the plant growth. The type of structure that you build will be dependent on your setup.
If you are dedicating an entire tent to your SCROG, the easiest solution is to make a frame of PVC pipe that can be anchored to the tent’s upright poles. After the frame is anchored, just stretch plant netting over the frame. You can also use wire or stiff rope in place of the PVC frame.
If you are only using part of your tent, you can use the same approach, but add PVC legs to support the frame. In any case, make your screen easy to raise and lower to help with the next step.


Step 3: Put It Together
This part can be a little tricky, but you will want to be careful to not hurt the plant. If you try to put theThe best approach is to raise the netting and then put the plant in place before lowering the netting, being careful to not let the netting fall on the plant. For best results, lower the netting a few inches shorter than the plant and then pull longer branches under the screen to start with a flattened look.

Step 4: Vegetate
Now we wait for the plant to cover the entire horizontal area. You can help this process along by training the plant as it grows. As stems stretch up towards the light, redirect them under the screen towards areas that don’t have as much growth. In this way, you can get that even layer of growth that makes the SCROG process worthwhile. You can learn more about topping and training here.

Step 5: Flower
All the hard work has been done and you should have flat growth that can be evenly covered by your grow lights. For now, kick back and let the fruit ripen!
In most strains, the plant will stretch towards the lights when first put into flower. In the final stage, treat the plant the same way you would in any other flowering plants and training should end once flowering begins in earnest. The plant will become woody in later flowering and branches will snap if you try to adjust them too much.


Example Grow 1 – Full Sized Tent
In this example, we start off with two vegging Accupulco Gold females that were 8 weeks old and had been topped multiple times to provide a ‘bush’ effect.


For this grow, we used a simple rope lattice that we purchased at a hardware store attached to the tent-uprights. This worked well enough, but in retrospect, it would have been better to attach it to a rigid frame to keep the right levels of tension on the upward growth.


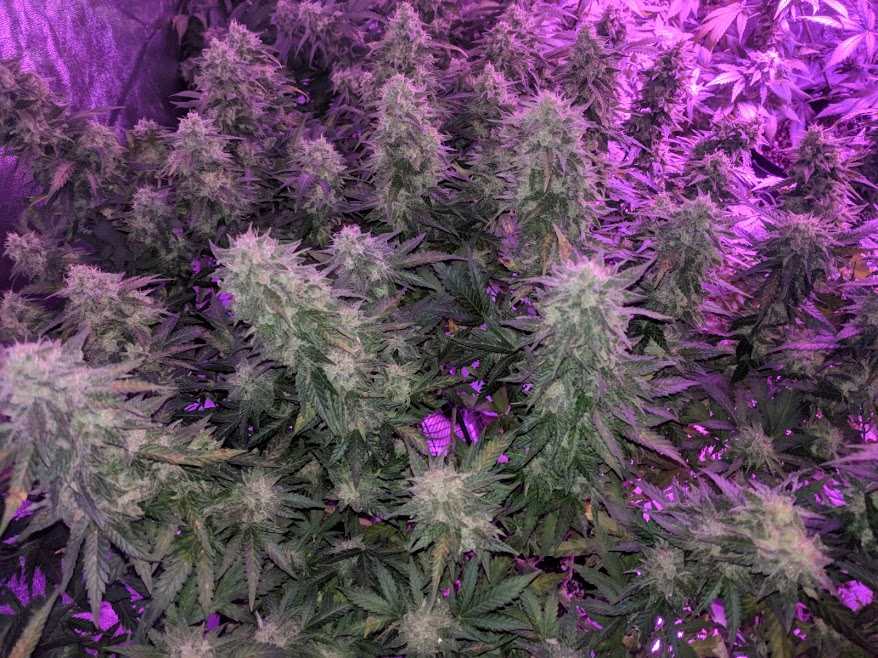
By the time we put it into flower, it had great coverage across the whole space.


For the final harvest, we did much better than if we had left the plant to grow a single large cola in a Christmas tree shape.


Overall, the SCROG approach was very effective and maximized the potential for these plants.


Example Grow 2: Cabinet Mini-SCROG
For this grow, we used a very small cabinet and 4 Sweet Soma females all planted in a single container. The cabinet is only 18″x18″ and 36″ tall, so we put the plants into flower after only two weeks.


They started growing so fast that it became clear that the plants would outgrow the cabinet if we didn’t take action. Despite the risk of high-stress training, we FIM’d the plants to slow the vertical growth. It sure didn’t hurt the plant, because they already were hitting the lights a few weeks later!

We tied the plants down using coated gardening wire and that helped with the height a bit, but in the end, that wouldn’t be enough either. Rather than abandon the high-density experiment, we added a wire screen to hold the plants down.

In almost no time, the plants adapted to the screen and grew between the openings nicely.

The way these girls kept growing shows that without the screen, we would never have been able to keep the grow contained to the small cabinet without the screen.

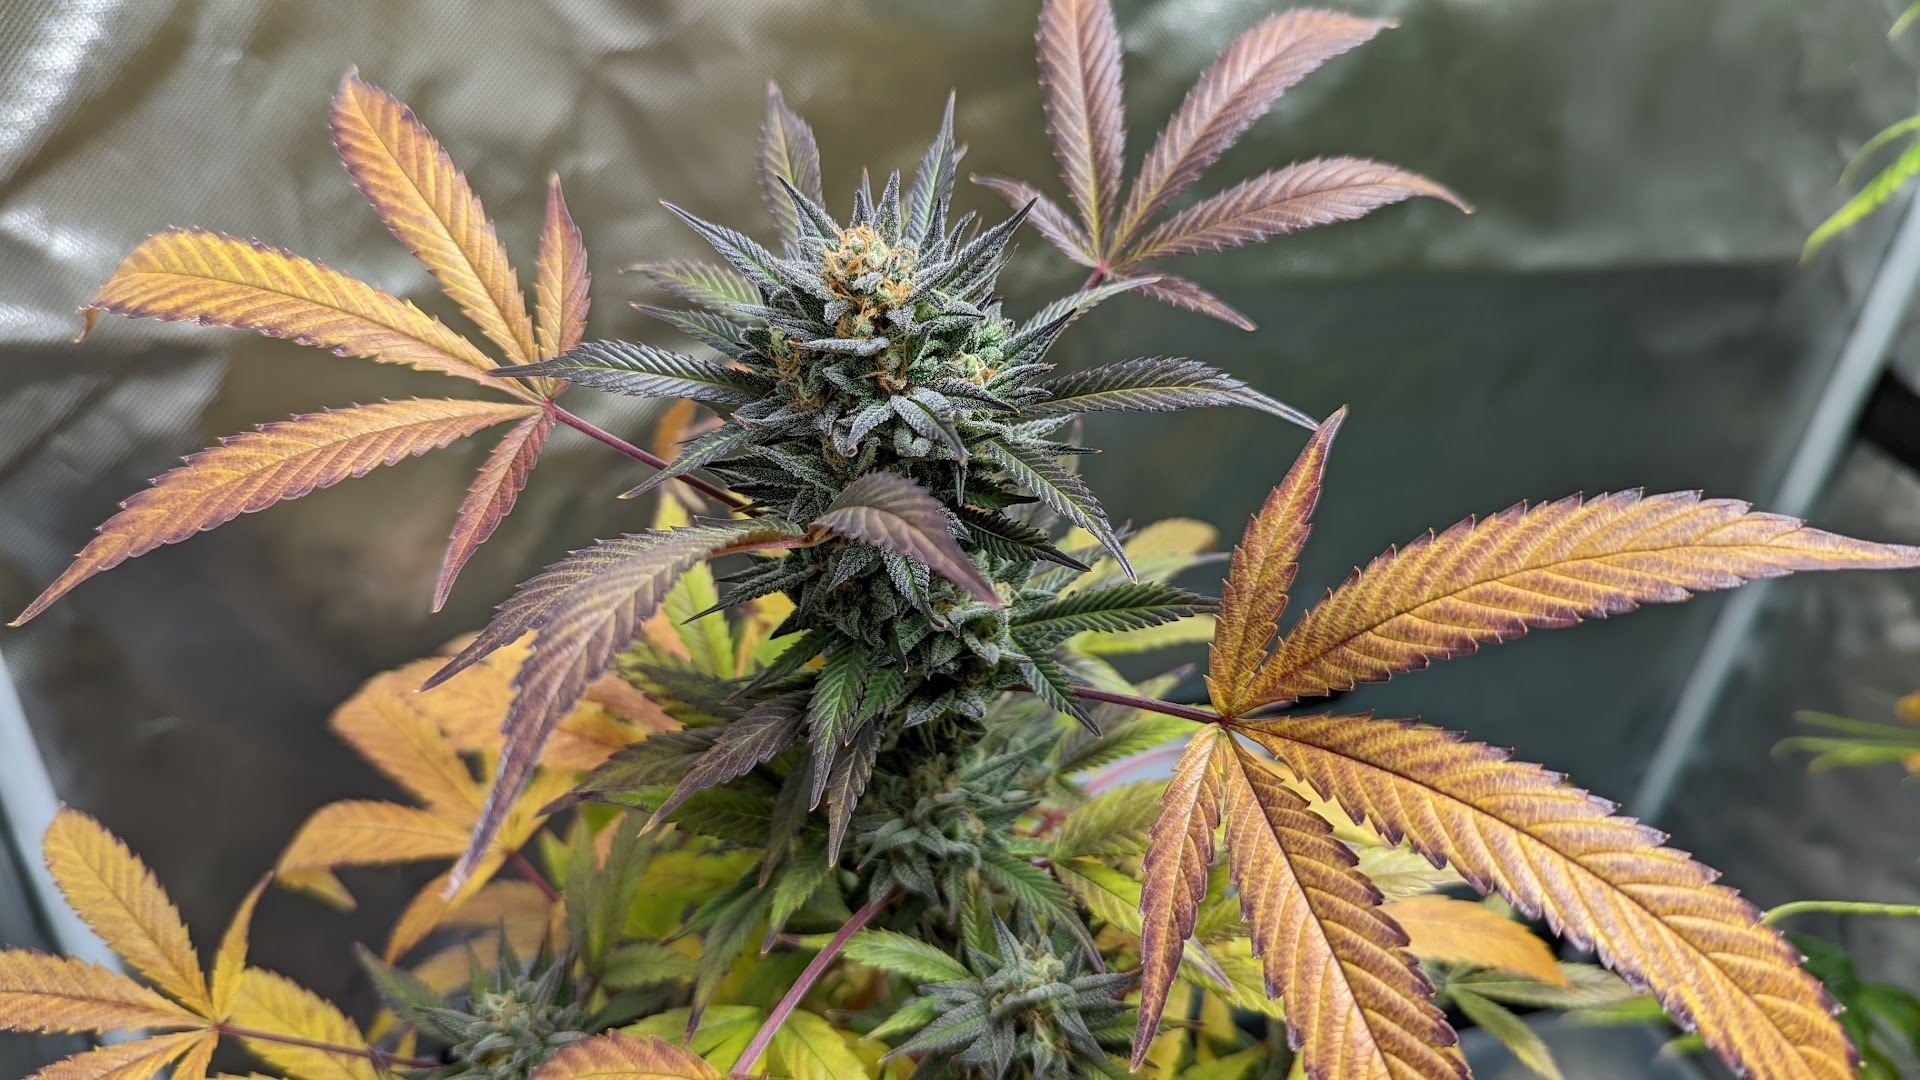
After the initial flowering stretch, the girls settled in nicely, turning a nice color due to the cold winter evenings.

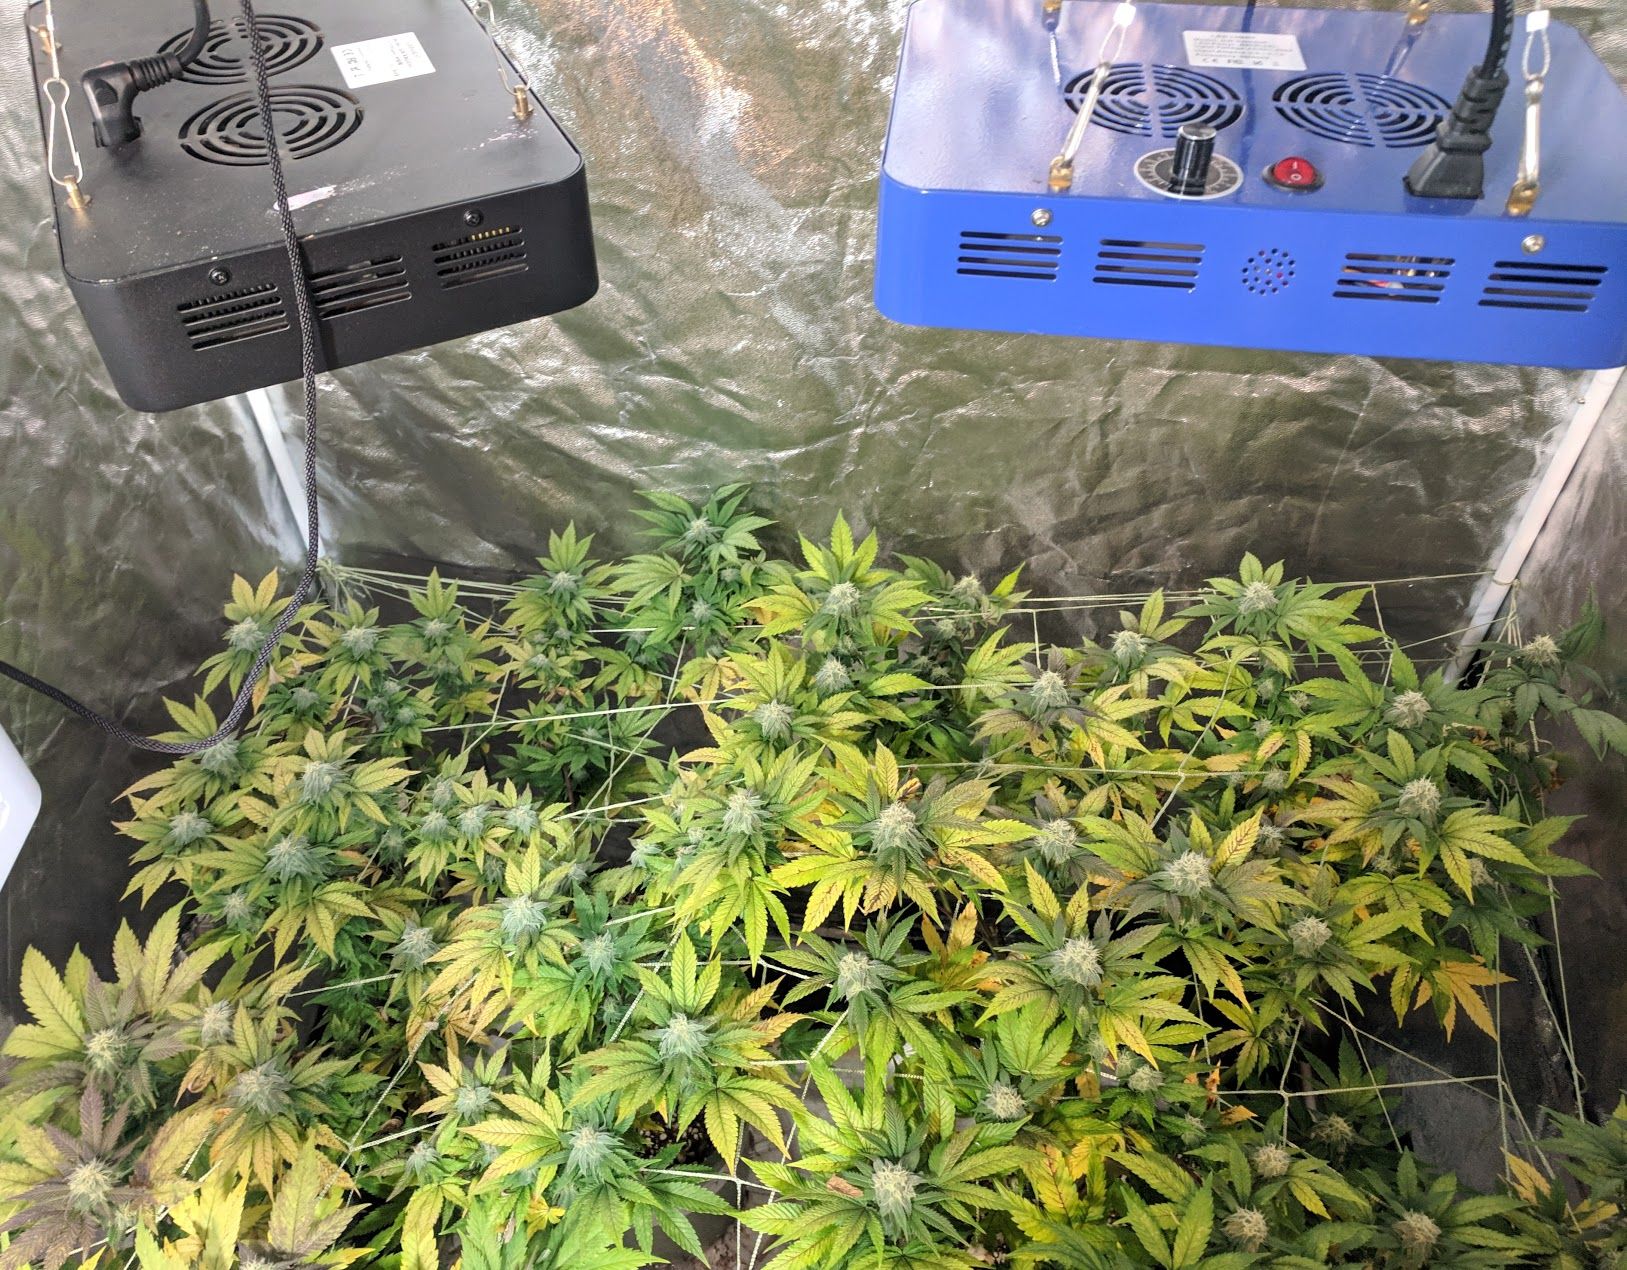
The view from the underside shows how the plants were manipulated to address height and to fill in all the spaces.

When we removed it from the cabinet, you can see that the canopy formed a mass of buds.

We had to cut the buds away from the screen, they were so tightly packed. In the end, we harvested 2 ounces of dried bud from the small cabinet.

Grow Kinder

Colorful Cannabis Guide

Organic Cannabis Gardens

Screen of Green – Illustrated in 5 Steps

Transplanting Cannabis

Cloning Guide