While you can grow from seed to finish in one large pot, there are great arguments in favor of transplanting the plant into appropriately sized containers as it grows.
If the plant is too small for the pot, the roots don’t reach much of the container, and the plant does not drink a lot. Overwatering becomes more likely in this scenario and leads to root and nutrient problems. If the plant is in a container that is too large, do not saturate the entire pot. Instead, water in a ring around the plant that is roughly along the perimeter of the canopy.
If the plant is too small for the pot, it will need to be watered frequently and will be prone to drying out. Eventually, the roots will become tangled and matted (rootbound), and will no longer be able to uptake nutrients and water – resulting in significant problems for the plant.
The act of transplanting can be shocking to the plant for a short time if not done correctly. When done correctly, transplanting promotes a rapid growth explosion as it gives an opportunity to unmat and untangle roots before seating the plant in new soil.
For the best results, start in a small pot after germination (8 to 16 ounces/ .2 to .4 liters) and work up as the plant transitions through its growth phases. Flowering plants generally need at least 2 gallon pots if they spent little time vegetating and more like 5 to 10 for large plants.
When Should I Transplant Marijuana
The short answer is that you should transplant marijuana plants before the roots overgrow and become bound in their current container. The longer answer depends on what phase your cannabis is in and the type of container your using.
Germination Phase
This is your first transplant, and when and how will depend on your seed starting method.
Method: Starter Plugs
If you germinate in peat moss or other starter plug, transplant seedlings when the roots begin emerging from the plug. See our Peat Moss Plug Germination Guide for more details.
Method: Paper Towels
If you germinated using the wet paper-towel method, transplant your seedling as soon as they have a root structure.
Method: In Soil
You can also germinate directly in the growing medium or soil. In this case, transplanting is not required.
Transplant To:
For best results, transplant into a solo cup or 8-16 ounces (.2 to .4 liters) tradepot to support the plant throughout the seedling phase. Alternatively, you can choose to skip ahead to a 1/2 or 1 gallon (1.9 – 3.7 liter) tradepot or plastic grow bag that will last into the vegging phase, but these will be more susceptible to over-watering.
Seedling Phase
The seedling phase begins when the young plant first emerges from the seed and extends for the first few weeks of life. Within the first days, it will start forming its first true leaves and will begin to build a root structure in the growing medium rapidly. For more information on caring for seedlings, see our seedling care guide.
Method 1: Watch the roots
If your container has drainage holes (like trade pots, solo cups and grow bags), you can monitor the drainage holes for roots. Once you see roots at the bottom of the container, you know that they’ll soon turn inward and become matted at the bottom of the pot. Once you see roots at the bottom, you will want to transplant within the next week.
Method 2: Watch the canopy
Once the leaf edges have reached the sides of the container and are overhanging, it’s time to start looking for the next container.

Transplant To:
For best results, transplant into a 1 gallon (~2 liters) trade pot or plastic grow bag. Alternatively, you can choose to skip ahead to the final container size of 2-5 gallons (~4-19 liters) that will support the plant through flowering but will be more susceptible to over-watering.
Vegetative Phase
The vegetative stage begins as the young seedling begins putting on adult leaves, and continues until the plant is put into flowering. For more information on caring for vegging marijuana plants, see our vegetative care guide.
Important: Since it can slow flower development to transplant a flowering plant, you will want to have your plant in its final container by the end of the vegetative phase.
Method 1: Watch the roots
If your container has drainage holes (like trade pots, solo cups, and grow bags), you can monitor the drainage holes for roots. Once you see roots at the bottom of the pot, you know that they’ll soon turn inward and become matted at the bottom of the container. Once you see roots at the bottom, you will want to transplant within the next week.
Method 2: Watch the canopy
For seedlings, you want to transplant once the leaf edges have reached the sides of the container and are overhanging. This is not as clear-cut with vegging plants though, since they can be affected by training, topping, and pruning. You can still use this method, but give more tolerance for overhang before transplanting.
Method 3: Watch the height
If you transplanted seedlings at the right time, you could use height gain to gauge when it’s time to transplant generally.
Method 4: Watch the water
Vegetative plants that are getting too large for their containers will dry out more quickly. If you find that your plants need watering more than twice a week, it’s probably time for a larger pot.
Transplant To:
For best results, you should at least double the size of the container with each transplant in the vegging phase. If you started vegging in a 1-gallon container, you would want to move to a 2 gallon, then 4 gallons, and so on. For the final transplant before the flowering begins, make sure that the container is your desired final size since you should not transplant a cannabis plant in flower.
Flowering Phase
You should always avoid transplanting in the flowering phase if at all possible. Transplanting can disrupt flowering (lowering production for up to a week), and flowering plants are more rigid and less resistant to damage.
What size do I need for the final container?
Unless you know what you are doing, flowering plants need a minimum of 2 gallons to have healthy flower production. More than 4 gallons (15 liters) is ideal for growing larger plants and allowing them to stretch in flower. If you are space constrained, you can use smaller final containers to restrict the plant’s size.
How to transplant
Step 1 – Gather materials
Get your growing medium ready; you can use a pre-bagged solution or use our guide to mix your own.
Get your destination container ready – it should be at least twice the size of the current container. Fill it with medium up to the point where the bottom of the rootball sitting on top of the dirt will bring the base of the plant stalk to the top of the new container.
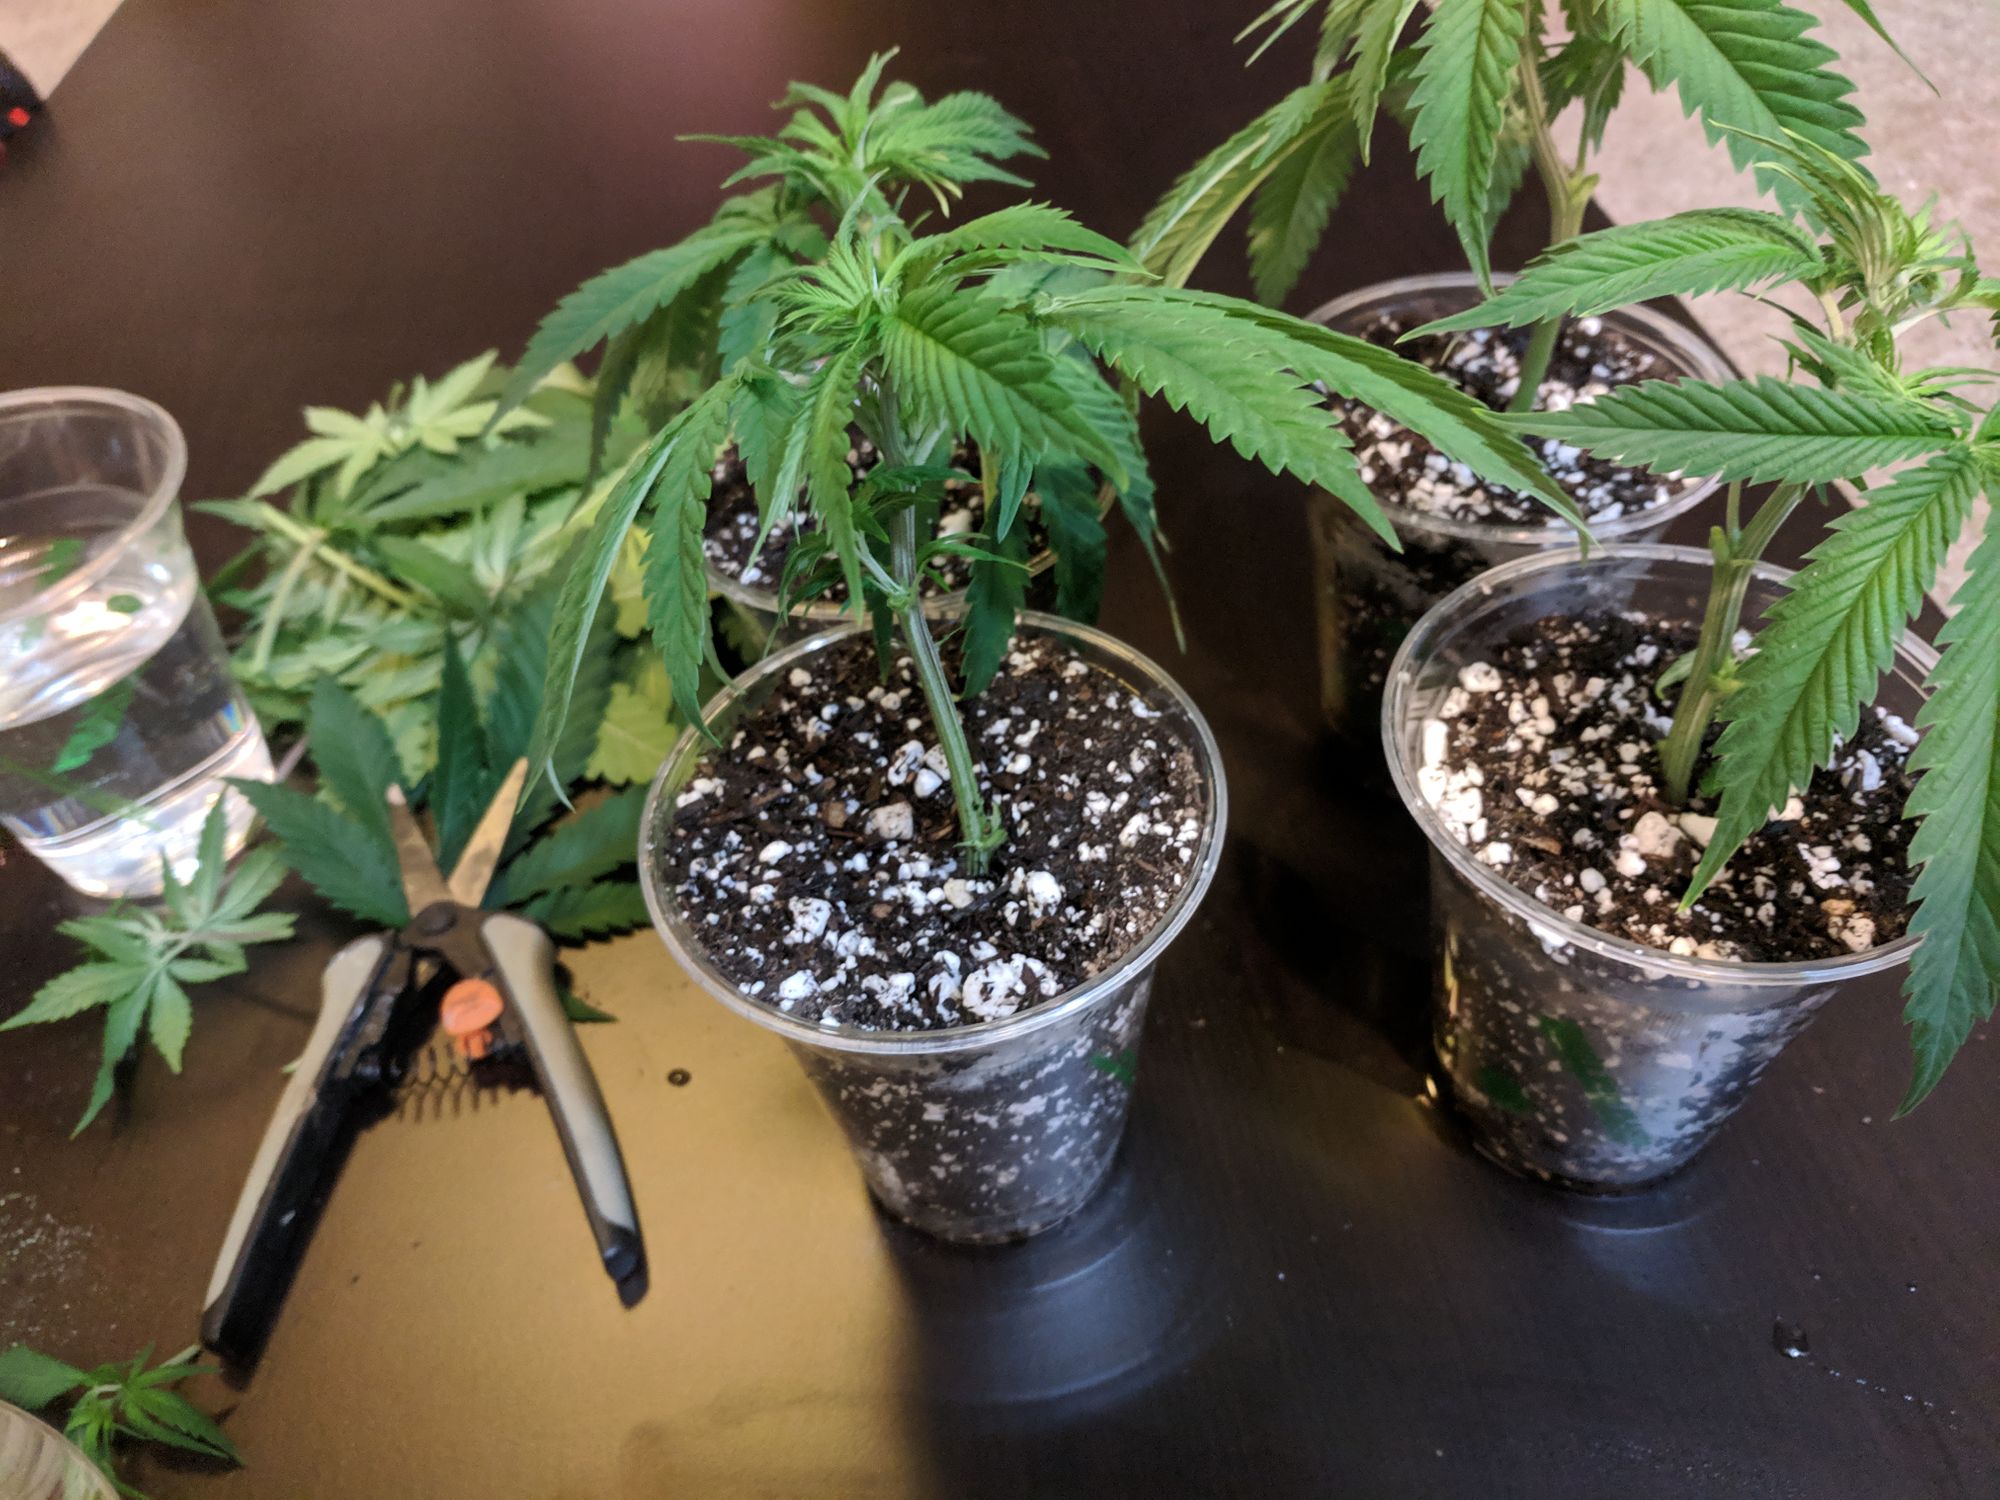
Step 2 – Remove the plant from the old container
In this step, we want to get the plant out of the old container. If using a trade pot, squeeze the sides of the pot to free the rootball. Hold the plant at the base of the stalk and gently lift it from the ground, then gently push down on the pot to make it slip off the root ball. Wetting the soil before removing the plant can help free it from the container. If you are using a cloth or plastic bag, pull the bag off the rootball like a sock off of a foot.
If it is difficult to remove the container from the rootball, you should cut the container off instead of forcing it. This is where plastic grow bags excel.
Step 3 – Work the roots
This step depends on how rootbound the plant is, and what kind of container you are using. If the roots have filled the bottom of the container and are starting to tangle and matt, you can use your hands to loosen the roots. If you know what you’re doing, you can also use shears to cut the roots back.


If you’re moving from a fabric container, this should not be an issue since the roots will have been air-sheared.
Step 4 – Put in the new container
We filled a base layer of the medium at the right height in Step 1. Still holding it by the stalk base, lower the rootball into the new container. You want the base of the stalk (top of the rootball) to be slightly lower than the top of the new container.
Step 5 – Fill with Medium
Lightly pack medium into the container, making sure that there are no void spaces under the rootball or along the sides. Only fill to the top of the old rootball (to the base of the stalk).
Step 6 – Water
If you are planting into a commercial soil with nutrients, you should not use nutrients for the first few weeks after you transplant. If you are in coco or another inert medium, use a light nutrient feeding (like a compost tea) with your first watering. Give a full watering (water until ~20% has run off).
Does it matter what time of day I transplant?
This question comes up on lots of forums, but the science isn’t clear. While you should generally water in the morning, since drying throughout the day helps prevent mold, mildew, and rot, on the other hand, general gardening shows that transplanting on cloudy days or before night gives the plant a better chance of avoiding shock. The reasoning is that it provides the plant with some time to adjust before being subjected to heat and a strain caused by bright lights. Based on that, I generally perform all stressful activities just before lights out – including transplanting, topping, pruning, and training.
What size container should I transplant cannabis into?
It depends on what stage of growth your plant is in: seedlings can be transplanted into quart-sized containers but a mature plant will need several gallons. A general rule of thumb is that if you are going to transplant, the container you transplant into should be twice the size of the container you are transplanting from.
Grow Kinder

Colorful Cannabis Guide

Organic Cannabis Gardens

Screen of Green – Illustrated in 5 Steps

Transplanting Cannabis

Cloning Guide