Balanced Approach to Managing Cannabis Pests

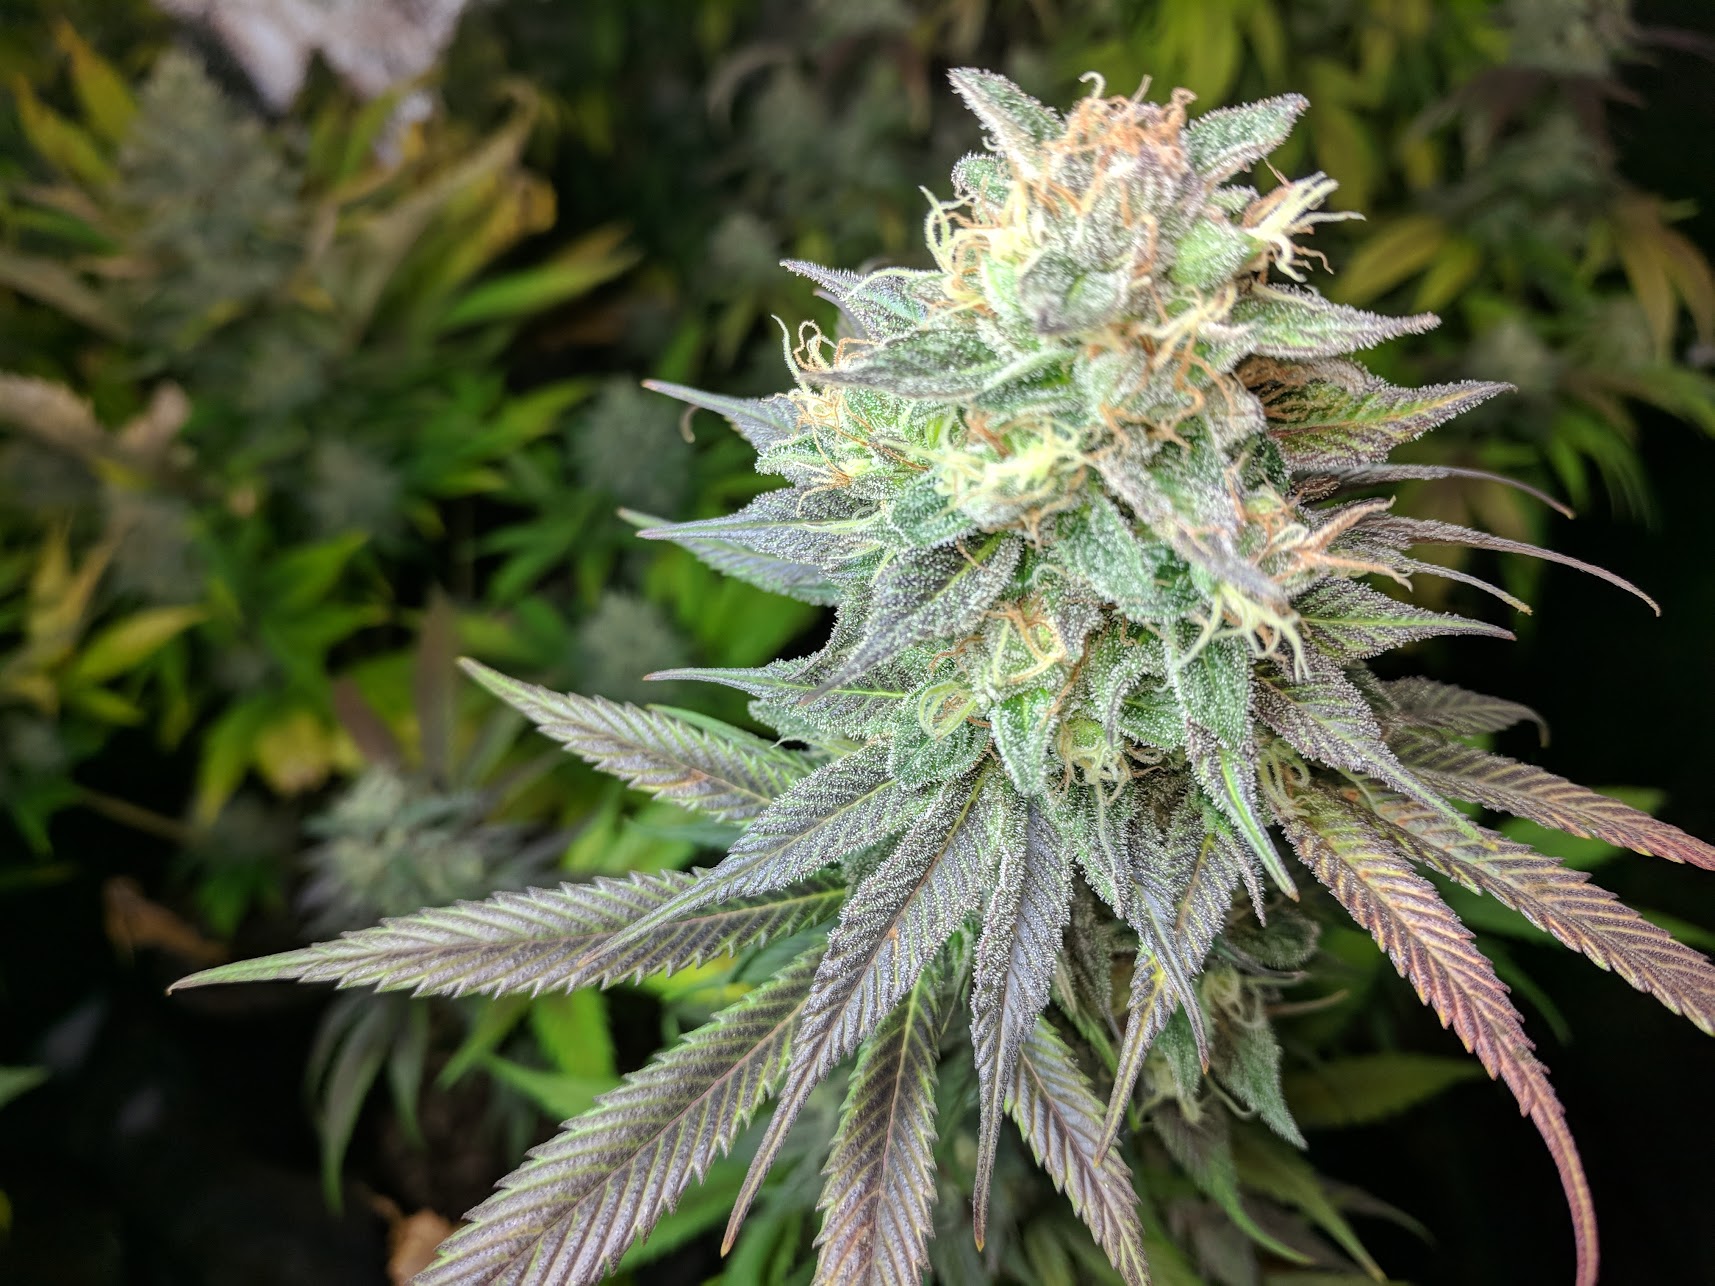
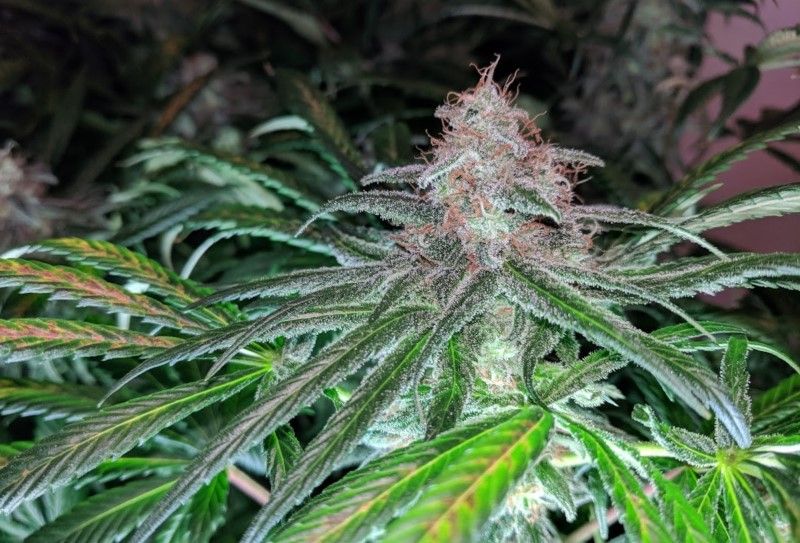
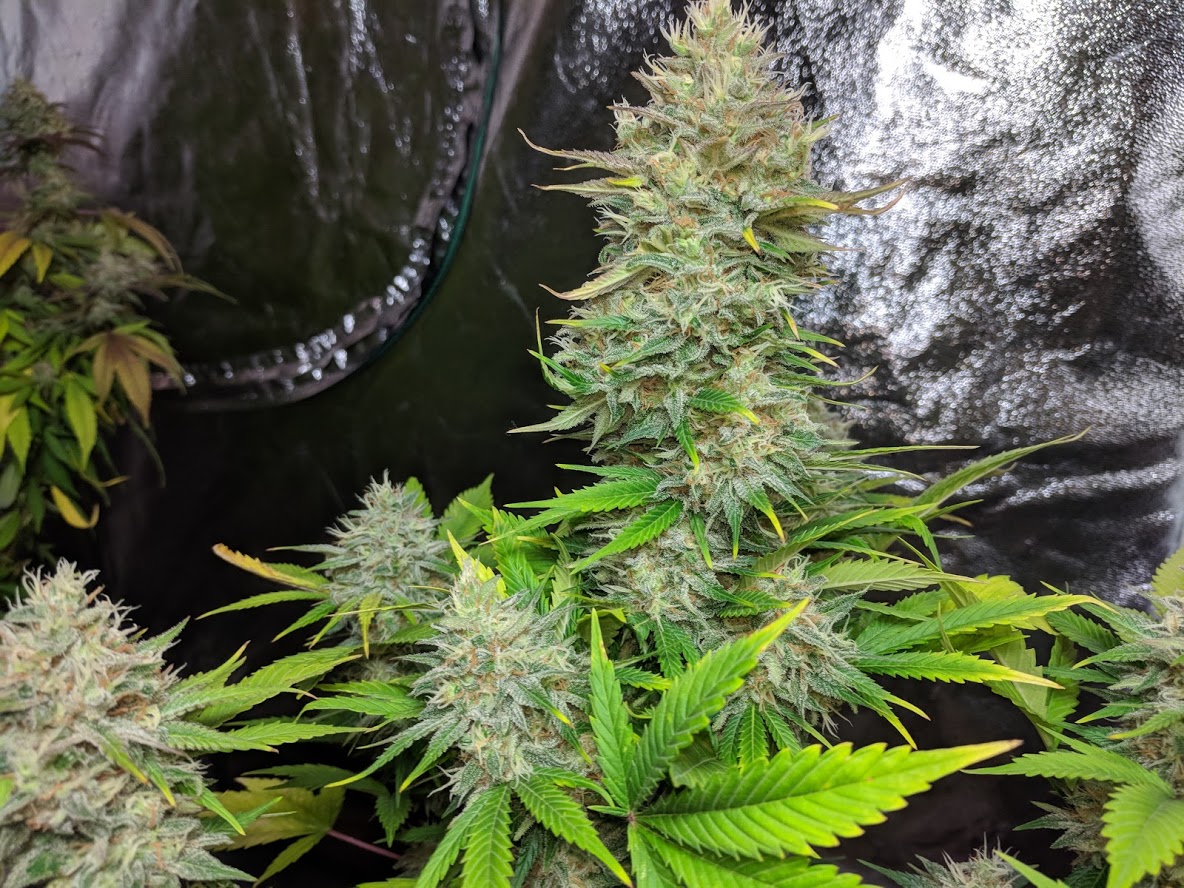
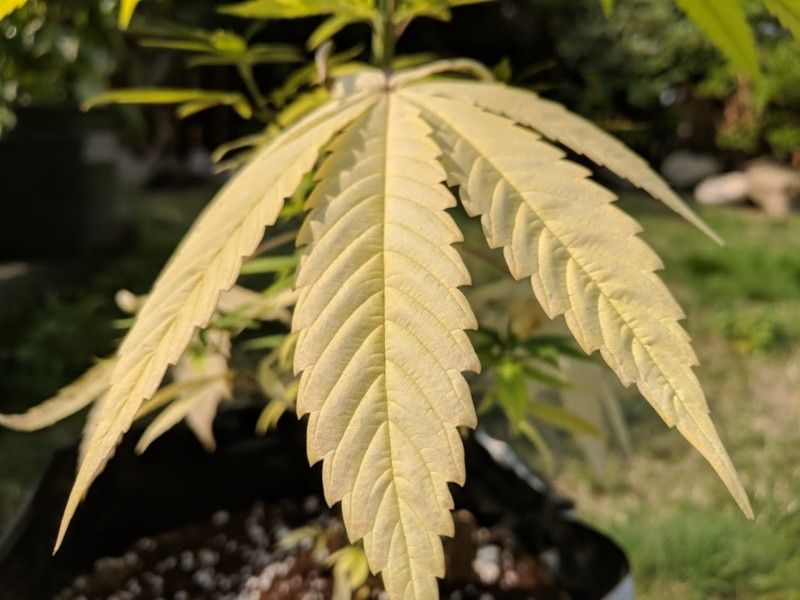
Handling pests isn’t all about killing them but about managing them. All the plants you see in this article are survivors of significant pest outbreaks and have recovered. The secret isn’t to eradicate the pests, but to tilt the balance in favor of the plant.

When I first started growing weed from some bagseed I’d collected, I read everything I could find on home grows. After my first good crop, I must have been feeling my gravitas while in a conversation with a far more experienced grower when I said. “Well, it’s a good thing we don’t have any pest problems around here.” When he gave me a questioning look, I followed up with “You know, like mites and whiteflies and so on. It sounds horrible, so I’m glad we don’t have them around here.”

He laughed a little and then patiently explained that there probably isn’t a place in the world where you can grow pot that you don’t also grow pests. They go hand in hand. Why hadn’t I had problems in my grow? What I’ve learned since then is that it may take a little time for the pests to find a new grow space, but they will.

They found it on the very next grow and since that day, my grow rooms have been a constant battleground! My initial goal was total eradication; I wanted every bug gone, so I embarked on a useless journey that was doomed to fail.

Why can’t I eradicate all pests?

I’ve come to understand that creating an environment where cannabis can thrive but pests won’t is impossible, or at least impractical. It’s important to remember that the perfect humidity and temperatures for your cannabis plant are also perfect for unwanted pests and the plant provides them with all the food and water they need. Given that, you would either have to build an ideal clean-room, complete decontamination shower on entrance and sophisticated air filtration to keep the pests out.

The white spots on the leaf are the work of spider mites that hang out on the underside of the leaves.

Since clean room technology is out of most people’s reach, the next option is repeated spraying of pesticides. Organic pesticides do not kill all of the pests and any that claim to are not being honest. Chemical pesticides, on the other hand, are toxic enough to kill off an entire population, but all pesticides require continued applications to keep it free. Repeat use of chemical pesticides would have long-term impacts on the plant as it kills off beneficial organisms in the soil, to the environment at large and finally to you.

What can I do then?

After a time, I had to step back and evaluate my original objective. I don’t care about the pests in general; I only care about the pests that are causing me problems. Why didn’t I experience any issues on the first grow? I thought that it took the pests some time to find the closet – which had never been a food source for them before that. The fact is, they were probably there from the very beginning, they just hadn’t established a foothold large enough for me to identify them as a problem.

If they hadn’t been a problem before they established a foothold, I reasoned that keeping their numbers under that level would mean they were no longer a problem. What you’re looking for in pest control isn’t to eradicate the pest but control their populations, so they don’t negatively impact your negatively garden in either visual appearance or crop yield. To do this, you need to establish a balance in your grow space.

This plant had a spider mite outbreak when it first started flowering, but neem oil treatment quickly depleted the mite population.

It’s all about balance

Since growing beautiful and productive gardens is the end goal here, the benchmark I use to determine if a treatment is successful is simple:

A successful pest control strategy means never seeing the pests or signs that they’ve been there.

If it’s a given that pests will get into your space, our new thinking should be on how to prevent them from establishing a large enough population to impact the crop. With this new goal, safe and organic pest control approaches are suddenly viable again.

By combining a few simple strategies, we can efficiently manage pests, so that they aren’t a problem.

Organic solutions to an organic problem

If the goal of pest control in our grow spaces is to keep the pest population manageable, there are a variety of safe and natural approaches to get us there.

Step 1: Control the Environment

This step doesn’t require any chemical compounds at all; you need to follow a few simple rules in your grow space to keep the balance tilted towards your plant and not the pests:

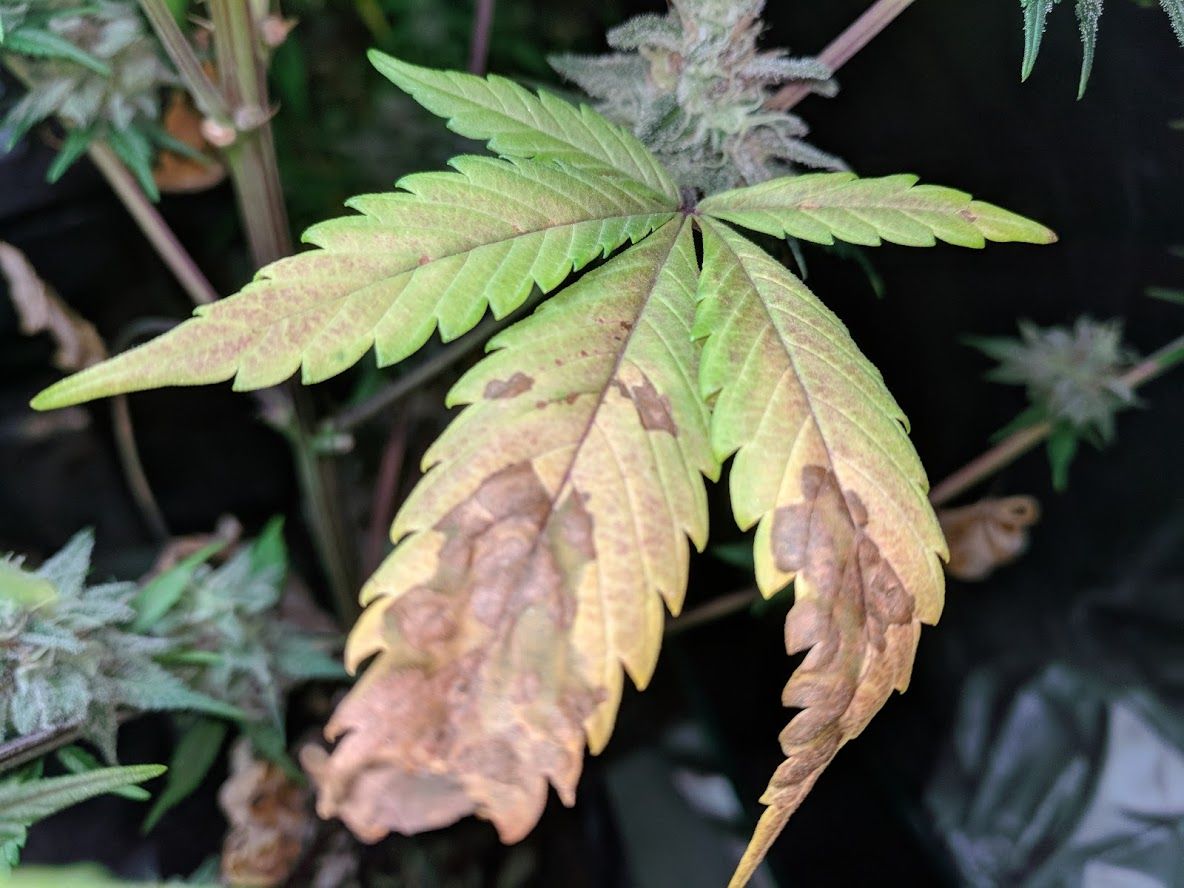
  1. Keep it clean; don’t leave litter, rotting leaves or standing water in your grow space since this provides excellent hiding spots and food sources.
  2. Completely clean and disinfect the entire area in between grows, so you start your new grow with a clean slate.
  3. Don’t spray the plants right before lights out; water droplets left on the leaves can encourage mold and mildew.
  4. Keep proper temperature and humidity; too warm and humid and pests will thrive.

Good airflow and ventilation is the best way to keep the balance in your favor. Learn all about how to set up the right environment in our grow space guide.

Step 2: Use Neem Oil Regularly

Neem oil has been used in India for centuries and has become the de-facto treatment for organic farmers all over the world. Made by pressing the oil out of the seeds and fruits of the Neem tree, this stuff is a pure vegetable oil that has all the advantage of the tree’s natural pest resistance.

Neem oil can impact a wide variety of pests, over 400 different insect varieties as well as most fungus. The best part is, it protects against the neem tree’s natural enemies but doesn’t seem to harm more beneficial organisms!

Neem oil not only protects the plant from pests, it also leaves the leaves glossy.

Neem oil doesn’t directly kill pests, like most chemical-based pesticides. Instead, applying it creates a hostile environment for reproduction and depletes the population over time. The oil enters the insects and interferes with the insect’s reproductive system and the oily coating on the leaves impacts egg viability. The whole environment becomes toxic to the pests, and after a few generations of low birth rates, the population collapses.

Spraying your plant once a week is a great way to prevent pest populations from taking hold. If you have an active pest problem, you should spray once every few days until the problem is under control.

To learn all about neem oil and how to mix it into a foliar spray, read our guide on using this organic wonder treatment for cannabis.

Step 3 Treat Outbreaks Aggressively

Whether its powdery mildew, whiteflies or mites, treat them aggressively at the first sign. I start off with a kill-on-contact solution, like NorCal’s 86 Mite & Mold treatment. This solution is made of a blend of essential oils and neem and kills most common pests on contact. After a few uses, I will switch back to a neem foliar spray but with increased frequency.

Once the pest population is back under control, scale back the neem applications to once every week or so.

Balance is key

There are lots of safe ways to control pests. Some farmers use ladybugs or predator mites to help. Remember, you’re trying to create a whole ecosystem in your grow space. For that, you have to take the good with the bad sometimes. If you keep that in mind as you look at solutions, it should be easy to tailor to your setup.

More Troubleshooting Help

Troubleshooting Potassium

Potassium is a basic element, and just like nitrogen and phosphorous, it is a critical component in almost every growth function in your plant. Potassium is the K in NPK and the plant absorbs it from the growing medium through the roots. There are a few simple rules to make sure your plant gets the right amount of potassium:

  • Potassium needs to be available in the growing medium in a form that cannabis can consume
  • The plant’s roots need to be healthy enough to uptake available potassium
  • The pH near the roots needs to be in the right range for cannabis to uptake the potassium.

Why do cannabis plants need potassium?

Cannabis is like all living things and requires potassium for normal growth and maturity. It is an important player in photosynthesis and in the regulation of plants responses to light through opening and closing of stomata. Potassium is also a crucial component for many other vital processes such as water and nutrient transportation, protein, and starch synthesis.

How do I diagnose potassium deficiency in cannabis?

The easiest way to tell if your plant has healthy levels of potassium is to look at the older fan leaves at the bottom of the plant. Look for leaves that are turning yellow along the edges and at the tips. As the problem progresses, the tips and edges can look burned.

Normal Potassium Levels

Lower fan leaves on plants with healthy levels of potassium are dark green in color.

Low Potassium Levels

Leaves on plants with lower levels of potassium to turn yellow along the edges and on the tip.

Depleted Potassium Levels

Leaves on plants with depleted potassium develop burned edges.

What causes yellow and burned edges of cannabis leaves?

Cannabis leaves in healthy vegetative growth have green leaves due to high levels of green chlorophyll, which is used in photosynthesis to generate energy for the plant’s growth. If there isn’t enough potassium, the plant struggles to create enough chlorophyll. To optimize resources, pot plants will reroute potassium from older leaves at the bottom in favor of supplying the growth tips.

Vegging plants require moderate amounts of potassium, so a deficiency during vegging might indicate pH or root issues.

Flowering plants need increased levels of potassium in flower production. If it doesn’t have enough, it will begin diverting potassium from even the new growth leaves near the buds.

When cannabis leaves start to turn yellow and look burned along the edges, it often indicates a minor potassium deficiency

Is there potassium in the medium?

The easiest way to get potassium into the growing medium at the correct level is to use a balanced nutrients set. Using fertilizers and nutrients put all the required elements into the growing medium, so if you are using a nutrient system designed for cannabis, there is probably plenty of potassium available.

Are the plant’s roots healthy?

Root health is critical for the uptake of water and nutrients. If a plant is too big for its container, the plant can become root-bound. When this happens, the roots grow inward and can strangle themselves, slowing the plants nutrient uptake. Other root issues, like root-rot, will also impact the plants nutrient uptake.

Is the pH Balanced?

PH is short for ‘potential Hydrogen’ but is most often used to describe the acidity or alkalinity of a substance. This is important when growing cannabis because nutrients are not available for uptake by the plant outside fairly narrow pH ranges. Cannabis plants in soil do best between 6 and 7 while cannabis plants in coco or other soilless mediums do best between 5.5 and 6.5.

If the pH is too high or too low, then the nutrients aren’t available for the plant to uptake. This is called nutrient lockout because no matter how many nutrients you provide, the plant still can’t use them. This is a very common problem for farmers and the best way to combat it is to test the pH at every watering.

Nutrients are available at different pH ranges.

How do I correct potassium deficiency?

In most cases, you don’t need to worry about a few leaves on the bottom going yellow or getting splotches during vegetative growth. If you are seeing it in new growth during flowering, you should address the problem quickly, since cannabis needs increased amounts of potassium during flowering.

How do I check the pH?

There are two methods for checking the pH at the plant’s roots. The most common method is to water the plant until there is a runoff and then check the pH of the runoff water using a hand-held pH meter. If the pH that comes out is higher or lower than what you put in, then you know that it is unbalanced.

The second method uses a soil pH meter. These unit have probes that allow them to test the soil near the roots after a watering.

How do I balance the pH?

To balance the pH, flush with water until the runoff is in an acceptable range. After the pH near the roots is at the right level, follow up with a hearty dose of nutrients and the problem should be solved.

To correct a deficiency, aim for a pH of around 7 in the soil, or 6.5 in coco, to get the most potassium uptake. If you notice the yellowing continuing, you likely have a root condition. he pot is too small, transplant into a larger container.

If your plant’s roots are healthy and you’re using a balanced nutrient solution, you should check the pH of the soil. In most cases, balancing the pH and performing a feeding should prevent further problems.

More Troubleshooting Help

Troubleshooting Phosphorous

Phosphorus is a basic element, and just like nitrogen and potassium, it is a critical component in almost every growth function in your plant. Phosphorous is the P in NPK and like most nutrients, the plant absorbs it from the growing medium through the roots. There are a few simple rules to make sure your plant gets the right amount of phosphorous:

  • Phosphorous needs to be available in the growing medium in a form that cannabis can consume
  • The plant’s roots need to be healthy enough to uptake available Phosphorous
  • The pH near the roots needs to be in the right range for cannabis to uptake the phosphorous.

Why do cannabis plants need phosphorous?

Cannabis is like all living things and requires phosphorus for normal growth and maturity. Phosphorus is a key ingredient in photosynthesis, respiration, energy storage and movement, cell division and growth and almost everything else the plant does.

How do I diagnose phosphorous deficiency in cannabis?

The easiest way to tell if your plant has healthy levels of phosphorous is to look at the older fan leaves at the bottom of the plant. Look for discoloration, spots and dark blotches that form between the veins. Often the leaves will feel stiff and dry to the touch.

Normal Phosphorous Levels

Lower fan leaves on plants with healthy levels of phosphorous are dark green in color.

Low Phosphorous Levels

Leaves on plants with lower levels of phosphorous start darken with darker blotches and may feel stiff.

Depleted Phosphorous Levels

Leaves on plants with depleted phosphorous develop large blotches and rust spots and may turn yellow or develop a bronze sheen.

What causes blotches on cannabis leaves?

Cannabis leaves in healthy vegetative growth have green leaves due to high levels of green chlorophyll, which is used in photosynthesis to generate energy for the plant’s growth. If there isn’t enough phosphorous, the plant struggles to create enough chlorophyll. To optimize resources, pot plants will reroute phosphorous from older leaves at the bottom in favor of supplying the growth tips.

When vegetating cannabis leaves at the bottom of the plant develop dark blotches, it often indicates a minor phosphorous deficiency

Flowering plants need increased levels of phosphorous in flower production. If it doesn’t have enough, it will begin diverting phosphorous from even the new growth leaves near the buds.

Flowering requires a lot of phosphorous and the plant will divert supplies from nearby leaves to bolster flower production.

Is there phosphorous in the medium?

The easiest way to get phosphorous into the growing medium at the correct level is to use a balanced nutrients set. Using fertilizers and nutrients put all the required elements into the growing medium, so if you are using a nutrient system designed for cannabis, there is probably plenty of phosphorous available.

Are the plant’s roots healthy?

Root health is critical for the uptake of water and nutrients. If a plant is too big for its container, the plant can become root-bound. When this happens, the roots grow inward and can strangle themselves, slowing the plants nutrient uptake. Other root issues, like root-rot, will also impact the plants nutrient uptake.

Is the pH Balanced?

PH is short for ‘potential Hydrogen’ but is most often used to describe the acidity or alkalinity of a substance. This is important when growing cannabis because nutrients are not available for uptake by the plant outside fairly narrow pH ranges. Cannabis plants in soil do best between 6 and 7 while cannabis plants in coco or other soilless mediums do best between 5.5 and 6.5.

If the pH is too high or too low, then the nutrients aren’t available for the plant to uptake. This is called nutrient lockout because no matter how many nutrients you provide, the plant still can’t use them. This is a very common problem for farmers and the best way to combat it is to test the pH at every watering.

Nutrients are available at different pH ranges.

From the chart above, you can see why phosphorous deficiency is one of the first signs that your pH might be low.

How do I correct phosphorous deficiency?

In most cases, you don’t need to worry about a few leaves on the bottom going yellow or getting splotches during vegetative growth. If you are seeing it in new growth during flowering, you should address the problem quickly, since cannabis needs increased amounts of phosphorous during flowering.

If your plant’s roots are healthy and you’re using a balanced nutrient solution, you should check the pH of the soil. In most cases, balancing the pH and performing a feeding should prevent further problems.

How do I check the pH?

There are two methods for checking the pH at the plant’s roots. The most common method is to water the plant until there is a runoff and then check the pH of the runoff water using a hand-held pH meter. If the pH that comes out is higher or lower than what you put in, then you know that it is unbalanced.

The second method uses a soil pH meter. These unit have probes that allow them to test the soil near the roots after a watering.

How do I balance the pH?

To balance the pH, flush with water until the runoff is in an acceptable range. After the pH near the roots is at the right level, follow up with a hearty dose of nutrients and the problem should be solved.

To correct a deficiency, aim for a pH of around 7 in soil, or 6.5 in coco, to get the most phosphorous uptake. If you notice the yellowing continuing, you likely have a root condition. If the pot is too small, transplant into a larger container.

More Troubleshooting Help

Troubleshooting Nitrogen

Cannabis is like most plants and needs ample nitrogen during vegetative growth. Nitrogen is a basic component in chlorophyll, so its required for photosynthesis that powers plant growth. As if energy production wasn’t important enough to plant growth, plant proteins (including DNA and RNA) also require nitrogen.

There are a few simple rules to make sure your plant gets the right amount of nitrogen:

  • Nitrogen needs to be available in the growing medium in a form that cannabis can consume
  • The plant’s roots need to be healthy enough to uptake available nitrogen
  • The pH near the roots needs to be in the right range for cannabis to uptake

Nitrogen is extremely important during vegetative growth, but marijuana plants need much less during flowering. Excessive nitrogen can inhibit flower production, so most cannabis feeding schedules reduce nitrogen during the flowering phase. As a result, many cannabis plants appear nitrogen deficient during the end of the flowering phase. This is normal and not generally a problem, though you should still check to make sure it isn’t being caused by pH problems.

Cannabis leaves often turn yellow towards the end of flowering – this is normal even in healthy plants.

How do I diagnose nitrogen deficiency in cannabis?

The easiest way to tell if your plant has healthy levels of nitrogen is to look at the fan leaves:

Normal Nitrogen Levels

Lower fan leaves on plants with healthy levels of nitrogen are dark green in color.

Low Nitrogen Levels

Leaves on plants with lower levels of nitrogen start to turn yellow from the tips down.

Depleted Nitrogen Levels

Leaves on plants with depleted nitrogen turn completely yellow

Why do cannabis leaves turn yellow?

Cannabis leaves in healthy vegetative growth have green leaves due to high levels of green chlorophyll, which is used in photosynthesis to generate energy for the plant’s growth. If there isn’t enough nitrogen, the plant struggles to create enough chlorophyll. To optimize resources, pot plants will reroute nitrogen from older leaves at the bottom in favor of supplying the growth tips.

When cannabis yellows from the bottom up, it often indicates a nitrogen deficiency

Is there nitrogen in the medium?

The easiest way to get nitrogen into the growing medium at the correct level is to use a balanced nutrients set. Using fertilizers and nutrients put all the required elements into the growing medium.

Are the plant’s roots healthy?

Root health is critical for the uptake of water and nutrients. If a plant is too big for its container, the plant can become root-bound. When this happens, the roots grow inward and can strangle themselves, slowing the plants nutrient uptake. Other root issues, like root-rot, will also impact the plants nutrient uptake.

Is the pH Balanced?

PH is short for ‘potential Hydrogen’ but is most often used to describe the acidity or alkalinity of a substance. This is important when growing cannabis because nutrients are not available for uptake by the plant outside fairly narrow pH ranges. Cannabis plants in soil do best between 6 and 7 while cannabis plants in coco or other soilless mediums do best between 5.5 and 6.5.

If the pH is too high or too low, then the nutrients aren’t available for the plant to uptake. This is called nutrient lockout because no matter how many nutrients you provide, the plant still can’t use them. This is a very common problem for farmers and the best way to combat it is to test the pH at every watering.

Nutrients are available at different pH ranges.

How do I correct nitrogen deficiency?

In most cases, you don’t need to worry about a few leaves on the bottom going yellow during vegetative growth. In flowering, it is very common for many leaves to turn yellow. lowering nitrogen during flowering growth.

If your plant’s roots are healthy and you’re using a balanced nutrient solution, you should check the pH of the soil. In most cases, balancing the pH and performing a feeding should prevent further yellowing.

How do I check the pH?

There are two methods for checking the pH at the plant’s roots. The most common method is to water the plant until there is a runoff and then check the pH of the runoff water using a hand-held pH meter. If the pH that comes out is higher or lower than what you put in, then you know that it is unbalanced.

The second method uses a soil pH meter. These unit have probes that allow them to test the soil near the roots after a watering.

How do I balance the pH?

To balance the pH, flush with water until the runoff is in an acceptable range. After the pH near the roots is at the right level, follow up with a hearty dose of nutrients and the problem should be solved.

To correct a deficiency, aim for a pH of around 7 in soil, or 6.5 in coco, to get the most nitrogen uptake. If you notice the yellowing continuing, you likely have a root condition. If the pot is too small, transplant into a larger container.

More Troubleshooting Help

Troubleshooting Cannabis

Sometimes things don’t go the way you planned. It seems that no matter how careful and attentive you are, things are going to go off the rails with cannabis sometimes. Luckily, most common problems are are easy to diagnose and easy to fix.

Common Nutrient Issues

When your plant is having issues with nutrients, it’s almost impossible to detect until it manifests itself in the leaves. It’s been my experience that practically all nutrient deficiencies are the results of unbalanced pH and then the first step to correcting them is to test the pH near the roots to make sure it’s in range.

Leaf with Normal Nutrient Levels

Since we are going to use leaves to diagnose issues, we should look at what a healthy leaf looks like.

Lower fan leaves on plants with healthy nutrient levels are dark green in color.

Nitrogen Deficiency

This is one of the most common nutrient issues, and it’s not always a problem. During vegetative growth, the plant needs lots of nitrogen and because it is a basic component in chlorophyll and plant proteins, including DNA and RNA. During flowering, growing marijuana plants need much less nitrogen. Excessive nitrogen can inhibit flower production, so most cannabis feeding schedules reduce nitrogen during the flowering phase. As a result, many cannabis plants appear nitrogen-deficient during the end of the flowering phase. This is normal and not generally a problem, though you should still check to make sure pH problems aren’t causing it.

Learn all about diagnosing and correcting nitrogen issues.

Low Nitrogen Levels

Leaves on plants with lower levels of nitrogen start to turn yellow from the tips down.

Depleted Nitrogen Levels

Leaves on plants with depleted nitrogen turn completely yellow

Phosphorus Deficiency

Phosphorus is a critical ingredient in photosynthesis, respiration, energy storage and movement, cell division and growth and almost everything else the plant does. The easiest way to tell if your plant has healthy levels of phosphorus is to look at the older fan leaves at the bottom of the plant. Look for discoloration, spots and dark blemishes that form between the veins. Often the leaves will feel stiff and dry to the touch.

Learn all about diagnosing and correcting phosphorous issues..

Low Phosphorus Levels

Leaves on plants with lower levels of phosphorus start to darken with even darker blotches and may feel stiff.

Depleted Phosphorus Levels

Leaves on plants with depleted phosphorous develop large blotches and rust spots and may turn yellow or develop a bronze sheen.

Potassium Deficiency

Cannabis is like all living things and requires potassium for normal growth and maturity. It is an important player in photosynthesis and the regulation of plants responses to light through opening and closing of stomata. The easiest way to tell if your plant has healthy levels of potassium is to look at the older fan leaves at the bottom of the plant. Look for leaves that are turning yellow along the edges and at the tips. As the problem progresses, the tips and edges can look burned.

Learn all about diagnosing and correcting potassium issues..

Low Potassium Levels

Leaves on plants with lower levels of potassium to turn yellow along the edges and on the tip.

Depleted Potassium Levels

Leaves on plants with depleted potassium develop burned edges.

Nutrient Burn

This is exactly what it sounds like – chemical fertilizers accumulating in the tips of your plant and giving them a ‘burned’ appearance. This is only a problem if you use synthetic nutrients, organic nutrients won’t burn your plants. Nutrient burn isn’t a big problem, but you should correct it quickly to optimize your growth. The best way to correct nutrient burn is to flush your plant with lots of water and then reduce the nutrients at future feedings.

Nutrient burn is an accumulation of excess nutrients pushed to the tips of the leaves.

Common Pest Issues

An ounce of prevention is worth a pound of cure and most common pest issues have the same simple set of solutions:

  • Improve ventilation and temperature control. Mites, molds, and fungus all have one thing in common: they prefer warm damp spaces too well ventilated and dry spaces.
  • Keep your grow area clean and free of clutter and disinfect between every grow
  • Use neem oil regularly! Learn all about the organic wonder solution and how it can help control pests in your garden in this guide.

Learn about using a balanced approach to pest control in this guide.

Mites

Spider mites are tiny bugs that are barely visible with the naked eye, but they leave behind plenty of signs to show where they’ve been. Early stage spider mite infestations are noticeable by small, light-colored, specks on the tops of the leaves. As the infestation proceeds, the mites will spin large webs over the leaves and buds.

Spider mites eating cannabis leaves cause light colored specks.

White Powdery Mildew

Scientifically speaking, white powdery mildew is white mildew that looks like, well, powder on your plant’s leaves. Often developing in circular patterns, this mild annoyance can become a big issue if not addressed. The best way to prevent mildew is through humidity control. The best way to address mildew growing on your plant is to carefully clean the mold off and then use a topical treatment, like neem oil.

Spider mites eating cannabis leaves cause light colored specks.

To handle almost all pest problems, use neem oil regularly. Learn all about the organic wonder solution and how it can help control pests in your garden in this guide.

More Troubleshooting Help

Neem oil, the organic wonder treatment for cannabis

Neem oil is impressive stuff, and in this article, we’ll teach you how to mix the perfect solution for almost all cannabis pest problems. Neem oil won’t completely get rid of your pests, and you shouldn’t believe anyone who tells you their solution will. What neem oil will do is help you keep the pest population’s impact to a minimum without harming the beneficial organisms. That way, you can keep a balanced ecosystem in your farm.

What is neem oil?

Neem oil is derived from the Neem tree. It has been used in India for centuries and has become the de-facto treatment for organic farmers all over the world. Made by pressing the oil out of the seeds and fruits of the Neem tree, this stuff is a pure vegetable oil that has all the advantage of the tree’s natural pest resistance.

What does neem oil treat?

Neem oil can impact a wide variety of pests, over 400 different insect varieties as well as most fungus. The best part is, it protects against the neem tree’s natural enemies but doesn’t seem to harm more beneficial organisms!

Protects Against Pests

  • Spider Mites
  • White Flies
  • Aphids
  • Thrips
  • Fungus, Molds & Mildews
  • Caterpillars & Moth larvae
  • Snails & slugs

Doesn’t Harm Beneficial Organisms

  • Ladybugs
  • Bees
  • Butterflies
  • Earthworms
  • Birds
  • Mammals
  • You

How does neem oil work?

Neem oil doesn’t directly kill pests, like most chemical-based pesticides. Instead, applying it creates a hostile environment for reproduction and depletes the population over time. The oil enters the insects and interferes with insects reproductive system and the oily coating on the leaves impacts egg viability. The whole environment becomes toxic to the pests, and after a few generations of low birth rates, the population collapses.

Neem oil leaves a beautiful shine on your plants leaves

How long does it take to work?

You should start seeing improvements after the first application, but it generally takes several applications over a few weeks to get the problem completely under control.

Will neem oil completely get rid of my pests?

No. These pests have evolved over millennia to be diverse and resistant. The most costly and caustic commercial chemical treatments won’t completely eradicate a pest and neither will neem oil. If it can’t safely be done, then maybe complete eradication shouldn’t be the goal of a pest treatment, but instead, we should strive for achieving a balance.

Neem oil won’t completely get rid of your pests, and you shouldn’t believe anyone who tells you their solution will. What neem oil will do is help you keep the pest populations impact to a minimum without harming the beneficial organisms. That way, you can keep a balanced ecosystem in your farm.

How do you use neem oil?

Neem oil is typically applied as a topical foliar spray that is a mixture of warm water, oil, and soap as an emulsifier. Coating as much of the surface as possible is essential. For mites and other insects, it is doubly important to cover the underside of the leaf, since that’s where they hang out. It’s almost impossible for them to attach an egg sac to the oily surface.

You can apply any time of day, but I like to apply just before light out so that the oil can sit on the leaves longer.

How often do you use neem oil?

Spraying your plant once a week is a great way to prevent pests. If you have an active pest problem, you should spray once every other day until the population is under control.

How do you make a neem oil spray?

What you need

5ml Neem Oil: – I use pure, cold-pressed oil.

2.5ml Soap: Oil and water don’t mix, so you need soap to bind the spray together. I use Dr. Bronner’s mint soap since it’s organic and the strong mint brings its own beneficial anti-pest properties. Any liquid dish soap will work as an emulsifier.

1 Liter Hot Water: You will need to keep the spray warm while using since the solution will separate as it cools.

1 Liter Spray Bottle: Any clean spray bottle will work.

These ratios are for pure, cold-pressed neem oil, Consult your neem oil label for exact proportions for your product.

Step 1: Warm the neem oil

Neem oil is so thick that it’s almost solid at room temperature so you will need to warm it before use. Run hot water over the sealed container or put in a bucket of hot water until it is warm enough to pour.

Step 2: Mix together

Fill the spray bottle with hot water and, once the neem oil is pourable, add neem oil and soap, Replace the spray bottle lid and shake vigorously for a full minute.

Step 3: Apply

Spray all surfaces of the plant until they are dripping with oil. Pay special attention to the undersides of leaves and at the base of the stems.

You can use neem throughout flowering, but it’s a good idea to stop treatments a few weeks before harvest as long as there isn’t an active infestation.

Is there something stronger?

If the infestation is particularly severe or you want to take a more aggressive approach, there are very effective ‘kill-on-contact’ organic solutions out there. These are generally made with a combination of neem, rosemary, mint, and other oils. We recommend that you only use products that are specifically formulated and tested on cannabis, as we’ve documented some bad results with commercial household organic solutions.

We have had success with Bonide Mite-X spray treatment. It’s an organic solution made of botanical cottonseed, clove, and garlic extracts and works like a broad-spectrum pesticide that eliminates a wide range of insects including spider mites, aphids thrips, broad mites, russet mites, and whiteflies. Unlike with neem oil alone, spider mites die on contact. Eggs are suffocated within 12-24 hours.

We recommend you check out this list of products to find the best organic solution for your garden.

Can I get a premade spray?

If you want to buy something, you can bet that someone wants to sell it to you, and this is no exception. There are some good organic solutions, but they can be a bit more costly than mixing your own.

Where can I get neem oil?

We recommend Dyna Gro’s pure, cold-pressed oil, but any cold-pressed neem oil with work great. You can find neem oil at your local gardening center or online.

More Troubleshooting Help